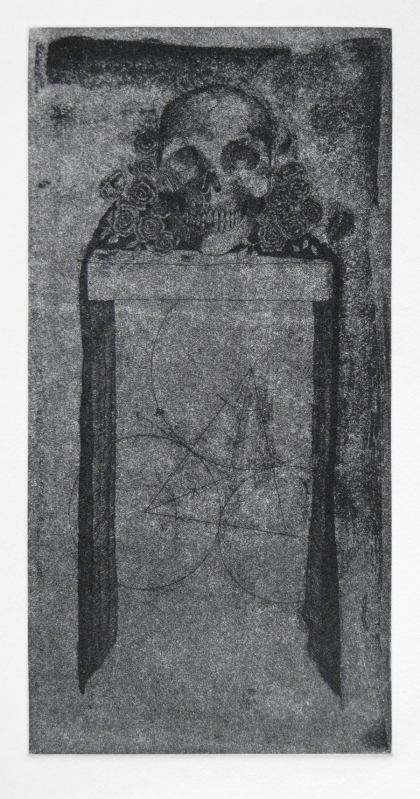
I finally remembered to scan and upload the finished version of Tangent No. 1. Here’s a little run-down of how this piece developed, just for fun. Not all of my work goes through a process that is this straight-forward, which is exactly why it’s so appealing to share this: it makes me look like I know what I’m doing.

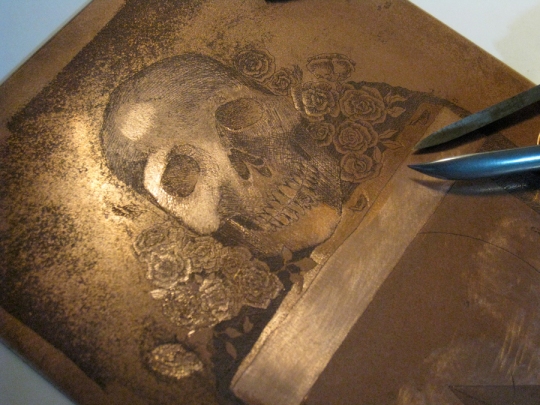
The drawing. I knew when I sketched this up that the darks would have to be very dark on the plate, because I used a “found” plate that already had a rough aquatint on it. Even after polishing the plate a bit with some steel wool and 2000 grit sandpaper, it printed pretty dark, as you can see below.

The dark area near the top of the image is actually foul-bite of my own doing. In drawing geometric constructions on plates, little dots of ground frequently lift up by sticking to my straight-edge. I compensate for this by painting stop-out varnish over the ground, carefully avoiding painting over my drawn lines. I didn’t do that on this plate, but I did paint the edges with stop-out, so that I wouldn’t have to polish them again after biting the plate. I left this one in the mordant for two hours because the lines had to fight that aquatint, so it’s lucky that the foul-bite worked out visually. I’m more careful about using stop-out now.

This plate needed some highlights. I hate scraping and burnishing, but sometimes one must do what one hates to get a job done right.

Ta-da! There are still a few things about it that bother me, but I’m not going to share that information. I have three successful prints, and three that didn’t work out because that little triangle of kitakata paper slipped. I let the pieces sit for too long after applying the nori paste, and the thin paper started to curl up in response to the moisture. Oh well, work and learn. I’ll pull some more and cap the edition* at 9 with one proof.
Want one of these prints? Leave a comment with your contact info and we’ll talk. I won’t publish any comments with contact information in them, I promise! I’m moving away from making my fine art prints available through Etsy; it’s not a great platform for that. I am going to keep selling my paper goods (like my ah-may-zing Grammar Cards) though!
*For those of you who are unfamiliar with the vernacular of editioning, an “artist’s proof” (or bon à tirer, which is the fancy French term) is a print that serves as the example of how all the other prints in the edition have to look to be included in the edition. An edition is the number of prints that an artist pulls from a plate that all look alike (we’re talking “congruent” not “similar”, to stick with my geometry theme). An artist limits the edition to (theoretically) make the prints more valuable, though Rembrandt and Goya never editioned anything; they just kept pulling prints until the plate couldn’t produce any more (the plates DO break down eventually; copper is a soft metal). Prints that don’t look like the “artist proof” (like the ones where my paper slipped) are destroyed, to protect the edition’s integrity (and thus the value for collectors–not so much for artists). I really hate ripping up bad prints, even though it serves to negate my mistakes. This is a poor summation of the practice of editioning; it involves so many particular niceties that books have been written on the subject.

Thanks for the clear explanation of your process.
Really, really interesting to see how this kind of thing is done. So many stages, such hard work. Worth it though, the final image is amazing!